Getting Started with the Woosmap Store Locator Solutions

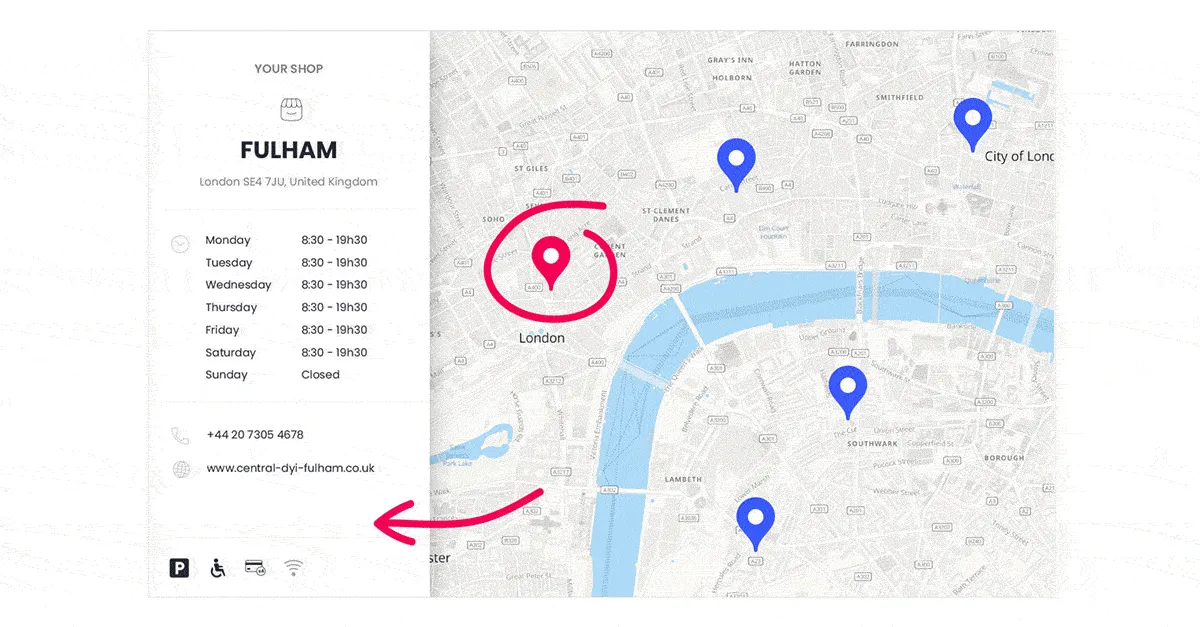
A Store Locator displays stores on a map and allows website or app users to find the closest and more convenient store from them. It will also help you show related information such as address, business hours, contact details or any available amenities and services. We offer two different ways to embed a Store Locator on your app or website, the Woosmap Store Locator Widget or Woosmap Store Locator JS API. We will help you choose which is the best solution for your needs.
Woosmap Store Locator Widget
The Woosmap Store Locator Widget is a one-stop-shop to create a Store Locator based on Google Maps API (or Baidu Maps). It is the short cut to provide your users with a powerful store locator. To match your preferences and website’s graphic style, all the properties of your Store Locator Widget can be customised client side thanks to the setConf() method.
Example
Benefits
- Easy to Configure: change theme color, marker styles, map languages, metrics units and more with just a couple of Javascript lines.
- Natively responsive layout based on your window width breakpoint.
- Labels support different languages.
- Bunch of prebuilt features such as Autocomplete Search, Driving Direction, Distance Matrix,...
- Easy to filter your stores using Custom Queries.
- Fast to deploy and easy to maintain (source code of the widget is hosted by us)
To Be Considered
- Style is not fully customisable as you don't have access to CSS ClassNames and icons are inline svg.
- Tracking users interaction with an analytics tools (Google Analytics for example), is limited to existing HANDLED_EVENT properties list
- Possible styles collision with your own styles.
- Less flexibility for new features.
Woosmap Store Locator Widget with Custom Renderer
The side panel used to display detailed information for the nearby stores or a selected store is fully customizable. You might consider this option as an alternative to the Store Locator Widget without custom rendering as you’ll need familiarity with front-end development concepts.
Example
Benefits
- Customize stores information rendering: set your own style and display desired information for both summary renderer (list of nearby stores) and detailed renderer (selected store) in the side panel. See how.
- Greater ability to record how the user is using your Store Locator
- Same pros than the Widget without custom renderer
To Be Considered
- A bit longer and timeconsuming development
- Same cons than the Widget without custom renderer
Woosmap Map JS API
The Woosmap Map JS API is a client-side JavaScript library for building web maps and web applications. The API features a new worldwide basemap dynamically rendered on the client using WebGL by combining vector tiles with style rules. On top of this vector-based background map, the API offers an overlay layer dedicated to display your assets and helper classes to ease the integration of others Woosmap Services like Routing or Search.
Example
Benefits
- Full control over UI/UX.
- Lots of samples to help you getting started with this API.
- More flexible to add new features as you remain owner of the source code.
- Tracking user interaction limited only to your ideas and creativity.
- Native Mobile SDK available.
- TypeScript definition available
To Be Considered
- Longer and more complex development (and therefore timeconsuming).
- You'll need to host the integration source code on your side.
Decision Matrix
First of all, our Customer Care team is here to help you make the right choice and make sure the job is done right. So please don’t hesitate to reach out to us.
To decide which option is best for you (using the Widget or developing with the JS API), you could write a small decision matrix. There are some tips that may helps you:
- Invite the right people to work beside your core team for the exercise (this might include people who know the background, people of the implementation team, etc.).
- Write the three options, standard widget, widget with custom renderer and JS API, as headings for the rows of your decision matrix table.
- Consider the factors or criteria which will guide your decision: implementation cost, time to implement, impact on customer satisfaction, maintenance cost. Write these as headings for the columns of the table.
- If you want, give each decision factor a weighting.
- For each idea, assign a value on a fixed scale (0 to 5 is good) for each factor. Multiply the value by the appropriate weighting and write it in the box.
- Continue for all ideas. Write total values for each idea in the last column.

The implementation with the highest total value is the one to consider first. It really depends on what your priorities are. We’re always happy to help with code or other questions you might have! If you interested in sharing what would be your choice, feel free to contact us.